
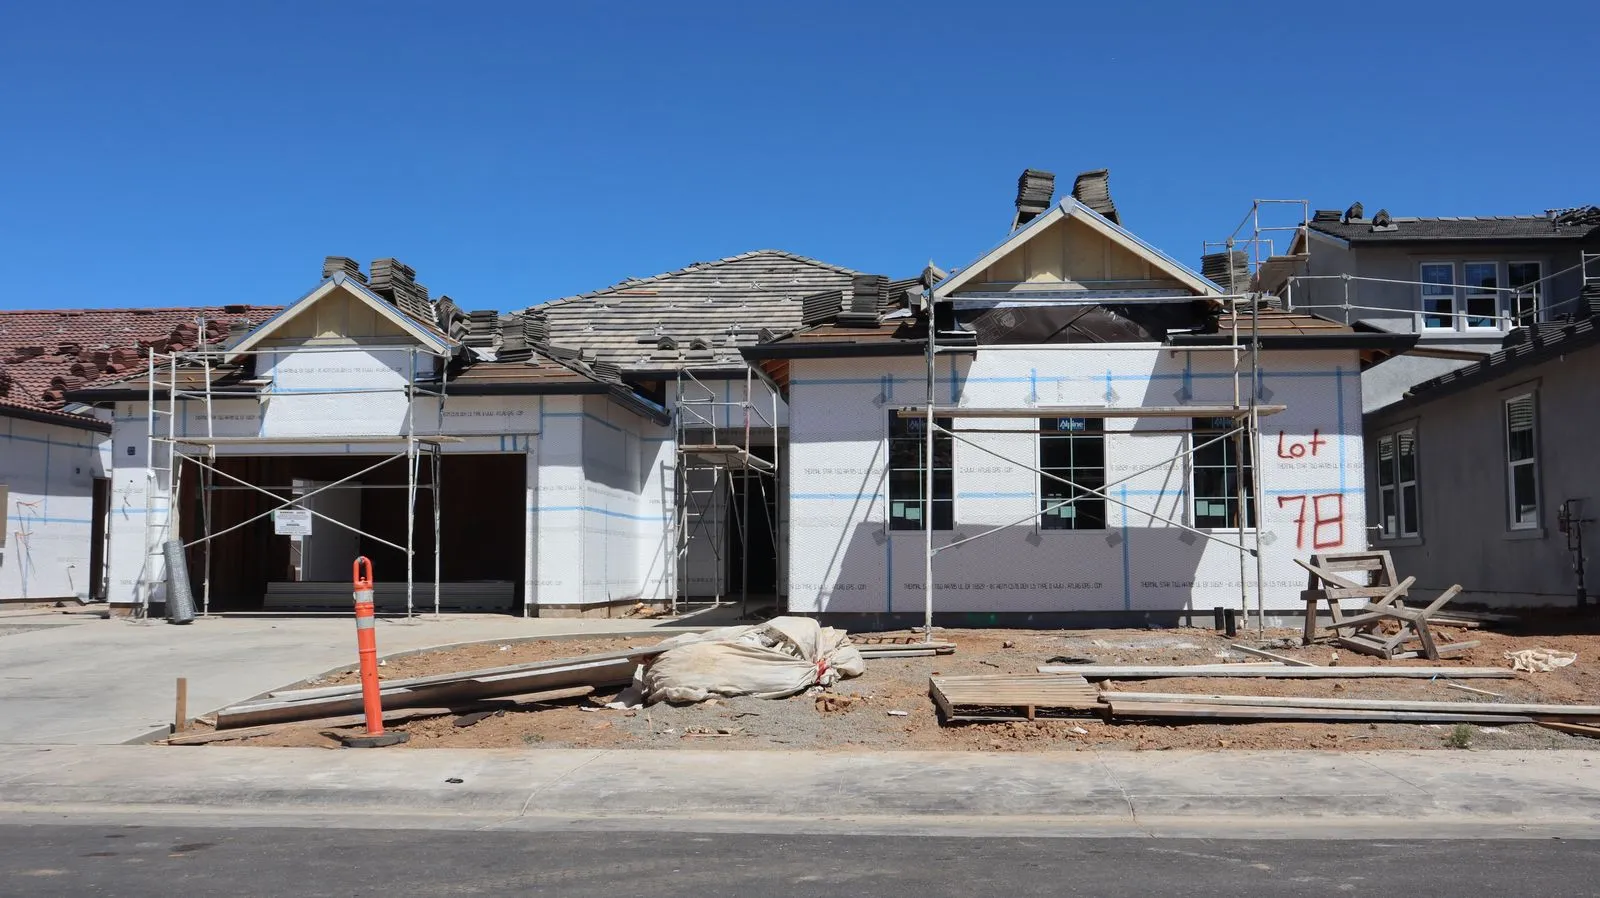
A metal roof installation is a sequence of coordinated steps, not simply panels placed over an existing roof. Your contractor should first confirm the roof’s condition, measurements, details, and material requirements. The crew then prepares the surface, installs underlayment and panels, and checks the completed system. Knowing what happens at each stage helps you plan for access, noise, debris, and weather delays—and gives you a clearer way to review the work before the project is considered complete.
Planning the Project
Before work begins, the contractor should inspect the roof, confirm its slope and layout, and identify features such as valleys, skylights, chimneys, plumbing vents, and roof edges. Accurate measurements help determine panel lengths, trim, and flashing needs. The proposal should explain whether the existing roofing will be removed, what substrate repairs are included, and how unexpected damage will be handled.
Ask who will obtain required permits, where materials will be staged, and how the crew will protect landscaping and entryways. Agree on a plan for driveway access, waste removal, and daily cleanup. Metal roofing work depends on suitable conditions, so confirm how the contractor will communicate schedule changes caused by rain, wind, or other unsafe weather.
Preparing the Roof
If the project includes tear-off, the crew removes the old roofing and checks the roof deck for rot, loose sheathing, or other damage. Repairs should be completed before the new system covers the surface. The deck needs to be sound and suitable for the specified roofing assembly; ask the contractor to document any additional repairs and explain changes to the original scope.
Next, installers prepare the surface according to the system design and local requirements. This may include underlayment, ice-and-water protection in specified areas, and carefully fitted flashing at vulnerable transitions. The crew should keep materials and tools organized, protect exposed areas if work pauses, and avoid leaving the roof open to weather longer than necessary.
Installing Standing Seam Panels
Standing seam panels are laid out in sequence, aligned to the roof’s lines, and fastened according to the manufacturer’s system. Many systems use concealed clips that allow panels to attach without exposed fasteners across the main roof surface. Panel alignment matters: uneven spacing or poorly placed fasteners can affect the appearance and performance of the finished roof.
Installers then form or connect the panel seams using the method specified for the product. They fit trim and flashing at ridges, eaves, rakes, valleys, and penetrations to direct water away from openings and edges. Details vary by roof shape and product, so the crew should follow the manufacturer’s installation instructions rather than relying on a one-size-fits-all approach.
Final Checks and Cleanup
At completion, the contractor should inspect panel alignment, seams, fasteners or clips, flashing, trim, and transitions around roof openings. They should also check that drainage paths remain clear and that no installation debris has been left in gutters or on the roof. Ask for a walkthrough or a clear explanation of the work completed and any items that still need attention.
The crew should remove packaging, scrap metal, and tear-off debris, then check the surrounding property for stray fasteners. Request the product and workmanship warranty information, maintenance guidance, and documentation of any repairs made to the deck. Keep these records with your home documents so you can refer to them if questions arise later.
A well-managed installation moves from clear planning to sound roof preparation, careful panel work, and documented final checks. Before signing off, review the finished details, cleanup, and warranty information with your contractor. For Edmonton homeowners planning a standing seam roof, Edmonton Seam Roofing can discuss the project scope and installation process.